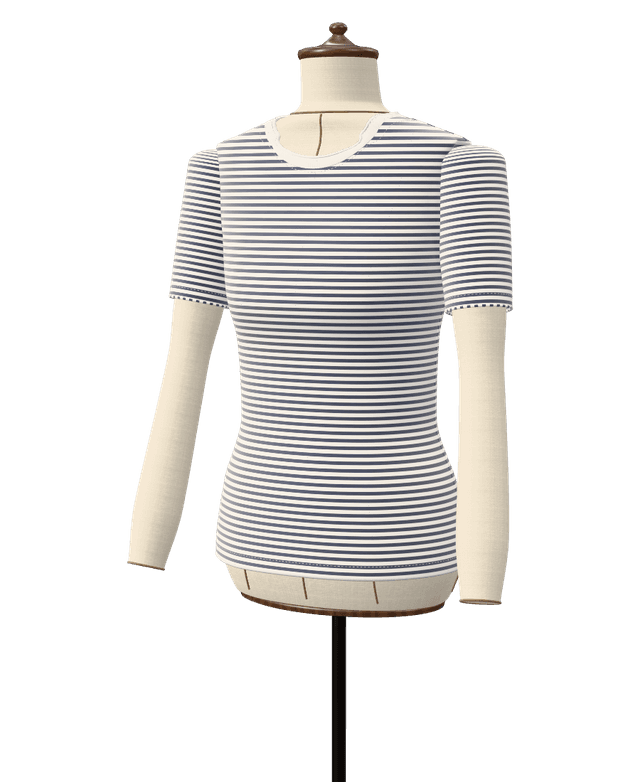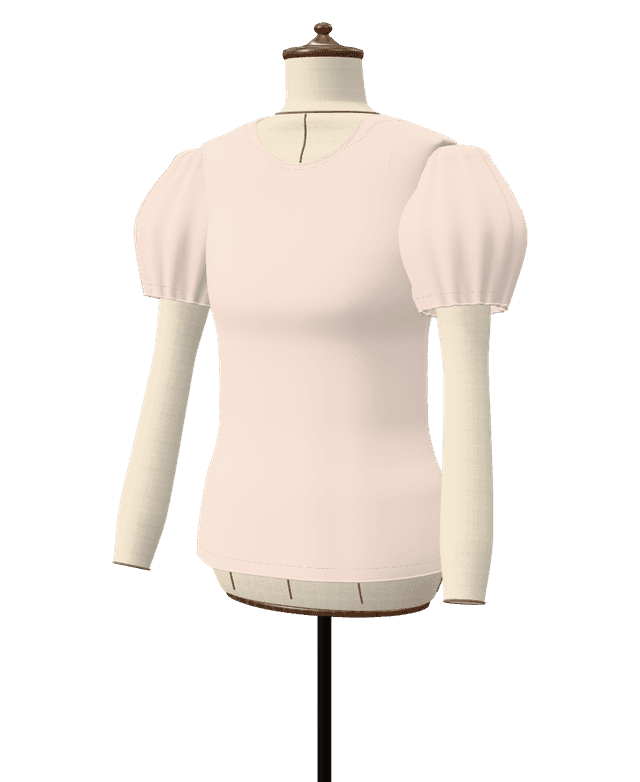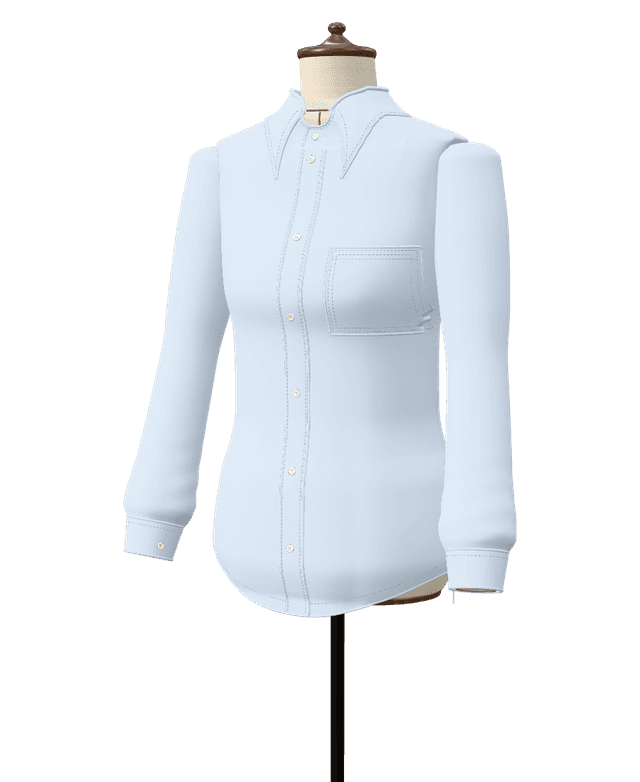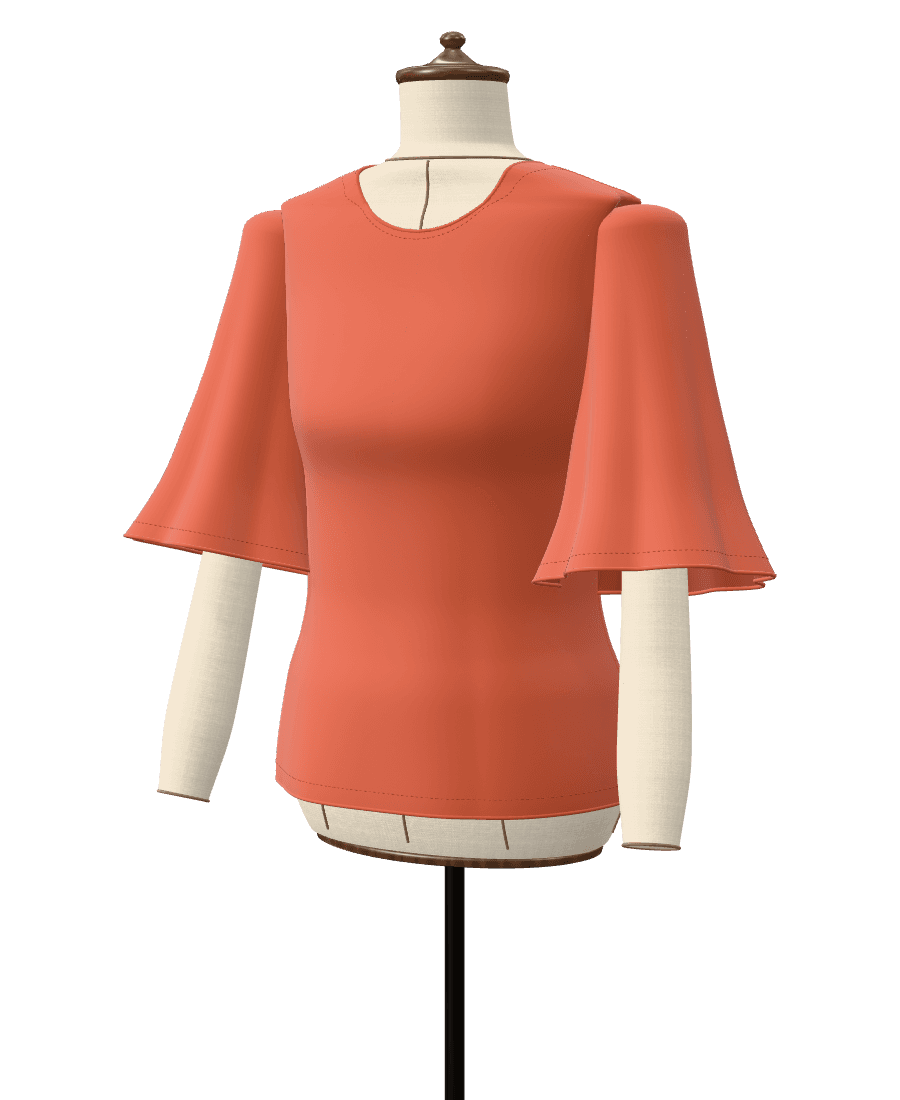
This pattern is a builder: instead of one garment with a few options, it drafts any upper-body garment from parts. Choose a collar, an opening, sleeves, cuffs, pockets and a hem, and every combination works with every other, from a sleeveless shell to a lined coat. Sewly drafts each piece from your measurements and adds the facings, plackets and guide steps your choices need.
Start from a photo or from scratch
Upload a photo, paste a Pinterest or Instagram link, or describe the garment in words, and the AI picks the parts it sees: the collar and its points, the opening, the sleeves and cuffs, the pockets, the yokes and the hem. You can then change any of them by hand, free and without limits. To start from a named garment instead, the button-up shirt, camp shirt, trucker jacket, chore jacket, bomber jacket and waistcoat are this same builder with their own defaults.
The parts you can combine
- Worn as: a top or shirt next to the skin, a jacket, overshirt or vest worn over a shirt, or a coat worn over a jacket. This sets the ease, the armhole depth, the collar size and the construction.
- Fit and shaping: fitted, regular, relaxed or oversized, extra chest ease, and darts, princess seams, side panels or denim-jacket panels.
- Collar: none, with a round, high, scoop, V, boat, square or sweetheart neckline; a shirt collar on a stand; a band (mandarin), camp, jacket, Peter Pan, rib knit or tie collar; or a lined hood.
- Opening: none, buttons, snaps or a zip down the front, a half placket, a wrap front with ties, a back zip or a back keyhole. Button fronts take a box placket, a folded facing, hidden buttons or a faced jacket edge.
- Yokes: straight, curved or pointed front and back yokes, with a box, inverted or side pleat below the back yoke.
- Sleeves: none, cap, short, elbow, three-quarter or long; set-in, dropped, raglan or kimono; fitted, straight, puff, bell or bishop; hemmed, or with a buttoned cuff and tower placket, a band, a rib cuff or an elastic casing.
- Pockets: chest pockets (patch, patch with flap, flap over a slit pocket, or welt) and lower pockets (patch, patch with flap, welt, jetted flap, slanted welt hand pockets, kangaroo or in-seam), in four shapes and any size.
- Length and hem: cropped to ankle length, with flare if you like, and a straight, shirttail, band, rib, peplum, ruffle or pointed hem, or side slits.
- Finishes: a full lining, topstitching (automatic, gold, matching or none), a tie belt, shoulder tabs, roll-up sleeve tabs and back adjuster tabs.
Made to measure or a standard size
Use your own measurements or a standard size: women's EU 32–54 (US 0–22, UK 4–26), men's XS to 3XL, or children's 2 to 14 years. With darts on automatic, women's woven styles get bust darts unless they are oversized, while men's and children's are cut without them; panel seams take the shaping when you choose them.
Best fabrics
Match the fabric to what you build: cotton poplin, linen or chambray for shirts and tops; viscose for fluid blouses; flannel for overshirts; denim, cotton twill or wool for jackets and coats; cotton jersey for knit tops and hoodies.
How hard is it to sew?
From easy to experienced, depending on the parts. A boxy top with a neck facing and hemmed sleeves is a good early project; a collar on a stand, welt pockets or a full lining add hours and skill. The guide lists only your combination's steps, in order.
What's in the pattern
Every piece your design needs, and only those: body pieces, panels and yokes, sleeves, collar and stand, plackets, cuffs and bands, pockets, flaps and bags, facings, linings and interfacing. Long rectangles such as bands and ties are given as cutting dimensions. The guide lists each piece with its cut count, the notions with their quantities (buttons with their size, zip length, interfacing, ribbing, topstitching thread), the fabric quantity for 110, 140 and 150 cm (45, 55 and 60 in) wide fabric, and a cutting layout.
How to sew a top, shirt or jacket
Most garments follow this order:
- Fuse the interfacing, staystitch the neckline and sew any darts or panel seams.
- Prepare the front opening: placket, facings or zip.
- Make the pockets while the pieces are flat.
- Join the yokes and the shoulders.
- Attach the collar, hood or neckline finish.
- Set in the sleeves, close the side and sleeve seams and finish the cuffs.
- Hem, add a band or bag the lining.
- Make the buttonholes and press.
Frequently asked questions
Can I design a garment that is not in the catalogue?
Often, yes. Any top, shirt, overshirt, jacket, vest or coat made from the parts above can be drafted, in any combination, and you can describe it to the AI in your own words. Tailored collars with notched lapels, as on a blazer, are not among the collars: for a blazer, Sewly's AI pattern maker drafts a new design piece by piece, untested, so sew a toile first.
How does the AI choose the options from a photo?
It recognizes the garment and its details (collar, opening, sleeves, cuffs, pockets, yokes, length and hem) and sets the matching parts. The drafting engine then draws the pattern from your measurements: the same choices always give the same pattern, and you can change any of them by hand. See how to turn a photo into a sewing pattern.
Can I make a knit top or a hoodie with it?
Yes. The builder drafts knits as well as wovens: a hoodie is a lined hood, a kangaroo pocket, rib cuffs and a rib hem band. For a plain knit tee, the T-shirt pattern is quicker to set up.
Is this pattern free?
Designing the pattern, changing every part and measurement, the 3D preview and the sewing guide on screen are free; creating it from a photo uses one of the free plan's AI patterns. Printing the PDF needs a Maker plan ($7.99 a month or $59 a year) or an Atelier plan.